
Signs of Asphalt Oxidation and Damage to Watch For
Table of Contents
How Asphalt Oxidation Starts: What You're Actually Seeing
7 Warning Signs of Asphalt Oxidation and Damage
1. Surface Discoloration and Graying
2. Hairline and Longitudinal Cracks
3. Alligator Cracking and Block Cracking
4. Surface Raveling and Crumbling
5. Potholes and Drainage Issues
Surface Damage vs. Structural Failure: Reading the Difference
How to Fix Asphalt Cracks Before They Spread
Step 1: Measure the crack before you buy anything
Step 2: Diagnose whether it's a crack or a symptom
Step 3: Clean and dry the crack
Step 4: Fill and compact
Step 5: Recheck after a season
DIY vs. professional: a quick decision checklist
Asphalt Sealcoating Benefits: Why Timing Matters More Than Product
What Climate Does to Your Pavement: Central Illinois Damage Patterns
Freeze-thaw pattern (cold-winter regions, including Central Illinois)
Extreme heat and UV pattern (desert and hot-summer regions)
Humid and coastal pattern
Why this matters for your repair decision
Asphalt Driveway Lifespan: When to Repair vs. Replace
Frequently Asked Questions
Last Updated: September 27, 2026
How Asphalt Oxidation Starts: What You're Actually Seeing
Asphalt oxidation is the chemical process where oxygen reacts with the bitumen binder in pavement, breaking down the oils that keep it flexible and turning the surface gray and brittle. This guide from Advanced Paving and Sealcoating, Inc. breaks down the warning signs of asphalt oxidation and damage so you can catch deterioration before it becomes a structural problem.
7 Warning Signs of Asphalt Oxidation and Damage
These seven signs, all visible from a walk or drive across the surface, tell you how far oxidation has progressed. Check them in order, since the sequence from discoloration to potholes tracks damage from surface-level to structural.

1. Surface Discoloration and Graying
Fresh asphalt is dark because the binder coats every piece of aggregate. As oxidation advances, that coating wears thin and the surface turns gray or chalky, the earliest reliable sign, appearing well before any cracking.
2. Hairline and Longitudinal Cracks
Hairline cracks are thin fissures that follow the direction of traffic or paving seams; longitudinal cracking often traces the joint between two paving lanes. Left alone, water enters and freezes, widening them every winter.
3. Alligator Cracking and Block Cracking
Alligator cracking forms an interconnected pattern resembling reptile scales, signaling that the surface layer is failing. Block cracking is a larger, rectangular version of the same problem. Both mean the binder has lost enough flexibility to hold the surface together under load.
4. Surface Raveling and Crumbling
Raveling is the loss of aggregate from the surface, leaving a rough, pebbled texture. It happens when the oxidized binder can no longer hold the stones in place. Once raveling starts, tires and plows strip away loose material fast.
5. Potholes and Drainage Issues
Potholes are the end stage of untreated cracking and raveling. Water pools in low spots, seeps into the sub-base, and softens the foundation. Poor drainage accelerates every other sign on this list, so standing water after rain deserves attention on its own.
Watch Out Treating gray, cracked asphalt as a cosmetic issue is the most common mistake property owners make. Oxidation that reaches the alligator cracking stage usually means moisture has already reached the sub-base, and repairs at that point cost far more than sealcoating would have.
Surface Damage vs. Structural Failure: Reading the Difference
Surface damage affects only the top layer and can usually be sealed or patched. Structural failure means the sub-base has lost its load-bearing capacity, and no surface treatment will fix it. The distinction decides whether you repair or replace.
Here's how to tell them apart during a walkthrough:
Surface damage: discoloration, hairline cracks, minor raveling, isolated potholes with firm edges
Structural failure: alligator cracking across a wide area, depressions that hold water, cracks that return within a season of patching, edges that crumble underfoot
How to Fix Asphalt Cracks Before They Spread
Fixing asphalt cracks early is mostly about stopping water from getting in. The repair method depends on the crack's width, depth, and whether the surrounding pavement is still moving, matching the method to the damage is what makes the fix last. Most guides skip the diagnostic step and jump straight to filling, which is why so many DIY repairs reopen within a season.
Step 1: Measure the crack before you buy anything
Crack width determines both the product and whether you should attempt the repair yourself. Use a tape measure or coin as a rough gauge:
Hairline (under 1/8 inch): Liquid crack sealer poured from a jug. A quarter is about 15/16 inch across, so a crack narrower than the coin's thickness is hairline territory.
Moderate (1/8 to 1/2 inch): Rubberized crack filler or a pourable cold-pour sealant. These need a sand or aggregate filler for deeper voids.
Wide (over 1/2 inch): Hot-pour rubberized sealant applied by a contractor. Cold-pour products shrink and pull away from wide cracks within a winter.
Finger-width or wider, or any alligator pattern: Stop. This is not a crack-sealing job. The base is likely moving, and sealing will hide the symptom for one season before it returns.
Step 2: Diagnose whether it's a crack or a symptom
Before filling, ask three questions:
Does the crack follow a straight line along a paving seam or traffic path? That's a longitudinal crack from paving or load, and sealing usually holds.
Does it branch into an interconnected pattern? That's alligator cracking, and it means the surface layer is fatiguing over a failing base. Sealant won't fix it.
Has a previous patch in the same spot failed within a year? Repeated failure at one location is the clearest signal that the sub-base is moving. Stop patching and get the base evaluated.
Step 3: Clean and dry the crack
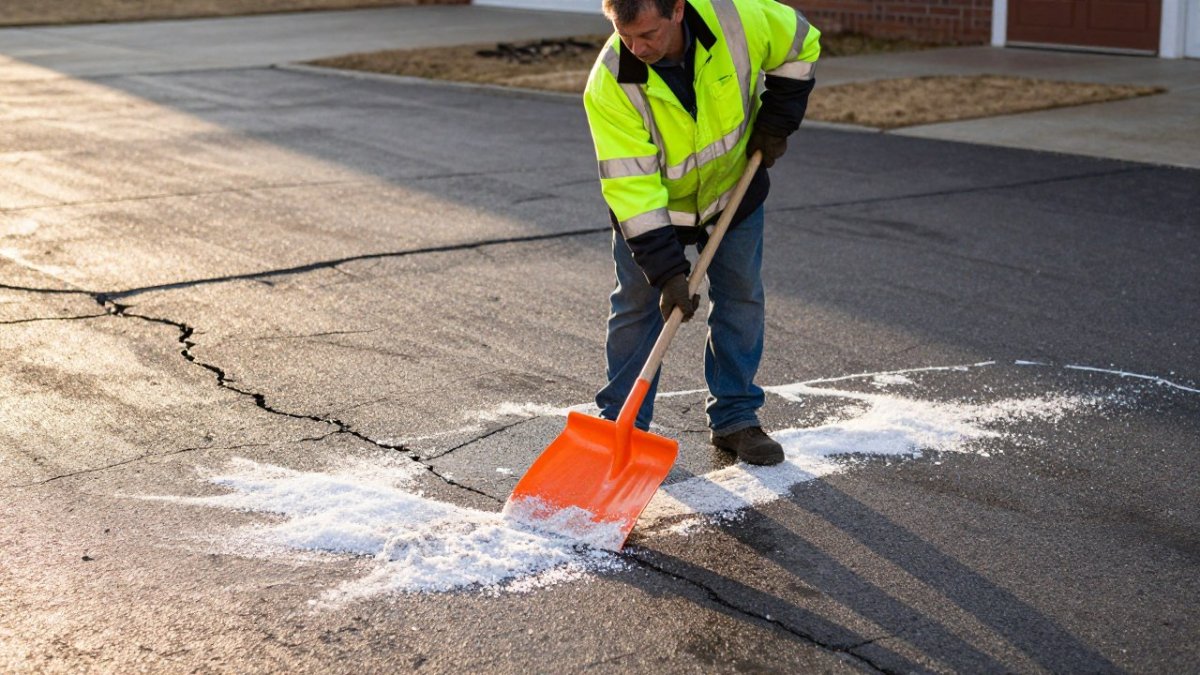
Remove dirt, loose aggregate, and vegetation with a wire brush, crack-cleaning wire wheel, or compressed air. Sealant won't bond to a dirty or damp surface, damp cracks fail within weeks, and a common mistake is filling right after rain because the surface looks dry while the crack interior is still wet.
Step 4: Fill and compact
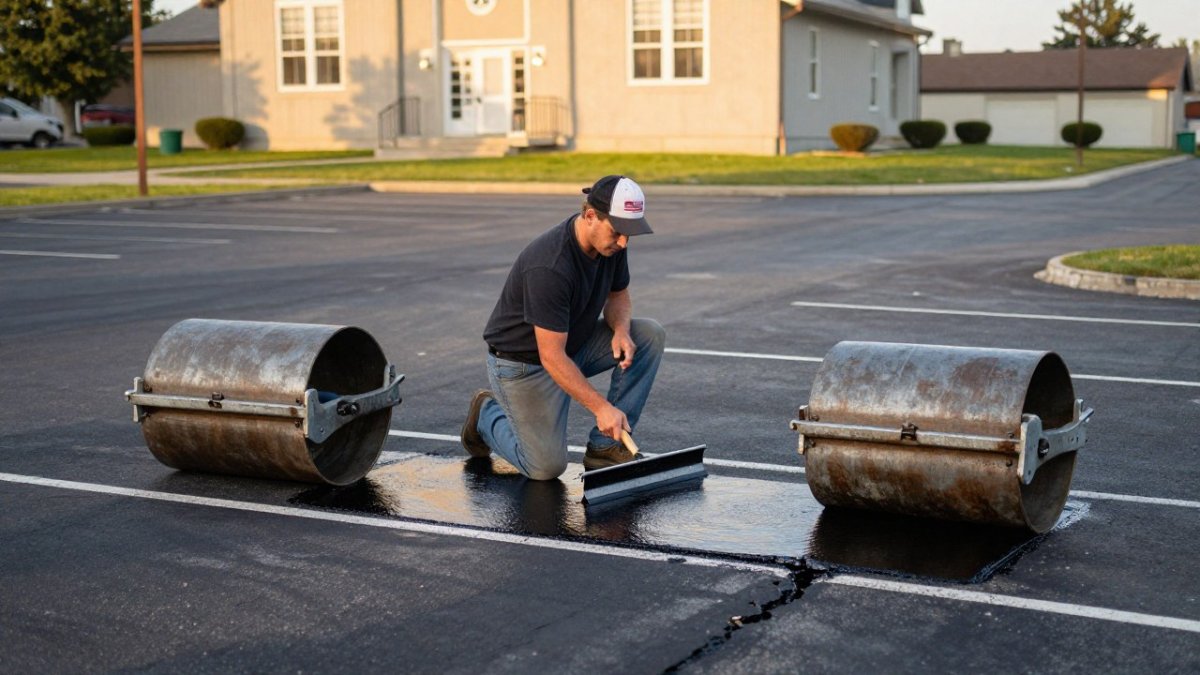
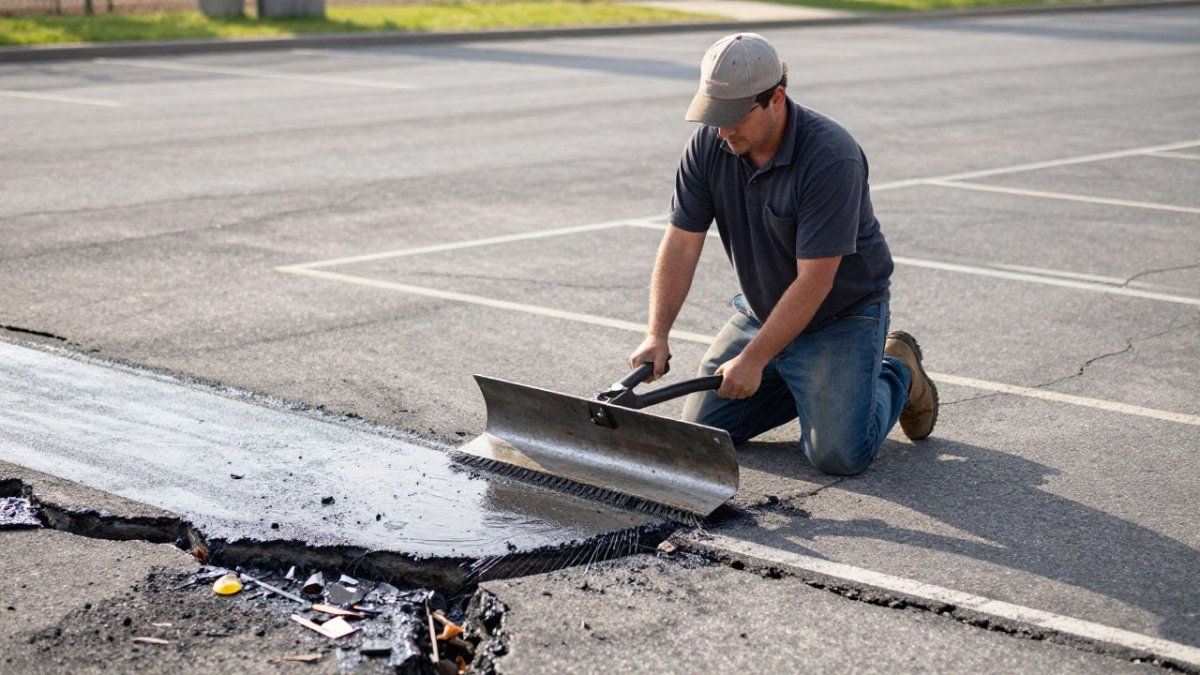
Overfill slightly, then compact the sealant flush so plows and tires don't catch an edge. For deep cracks, fill in lifts rather than one pour, a single deep pour traps air and shrinks as it cures. A squeegee or flat trowel works for cold-pour products; hot-pour sealant is applied by a contractor with a pour pot and squeegee.
Step 5: Recheck after a season
Any crack that reopens within a year points to movement below, not a bad sealant. That's your signal to move from DIY repair to professional assessment.
DIY vs. professional: a quick decision checklist
Use this to decide whether to handle it yourself or call a contractor:
Situation | DIY or Pro |
Hairline cracks, dry, isolated | DIY, liquid sealer |
Moderate cracks, no alligator pattern, firm edges | DIY, rubberized filler |
Cracks over 1/2 inch wide | Pro, hot-pour sealant |
Any alligator cracking | Pro, base evaluation first |
Cracks returning after two DIY repairs | Pro, structural diagnosis |
Cracks near a drainage inlet or low spot | Pro, drainage may be the cause |
Pro Tip A quick field test for crack activity: mark both ends of a crack with a crayon or paint pen, note the date, and check it after the next freeze-thaw cycle. If the marks have moved apart, the crack is still opening and sealing alone won't hold.
Asphalt Sealcoating Benefits: Why Timing Matters More Than Product
The main asphalt sealcoating benefits are straightforward: it blocks UV radiation and oxygen from reaching the binder, seals small cracks against moisture, and restores the dark, uniform finish that makes a property look maintained. What most guides get wrong is the timing.
Pro Tip Test sealcoat timing with a simple check: press a key or screwdriver into the surface on a warm day. If it leaves a mark, the asphalt is still soft and sealing can wait. If the surface feels hard and the color has gone gray, it's ready.
What Climate Does to Your Pavement: Central Illinois Damage Patterns
Oxidation happens everywhere, but the damage pattern depends heavily on climate. Two driveways with identical oxidation can fail in completely different ways depending on whether they sit in a freeze-thaw zone, a desert UV zone, or a humid coastal zone. Recognizing your climate pattern tells you which signs to watch first and which repairs to prioritize.
Freeze-thaw pattern (cold-winter regions, including Central Illinois)
Central Illinois pavement faces a combination that accelerates oxidation damage: hot, humid summers followed by repeated freeze-thaw cycles. That cycle turns a hairline crack into a pothole in a single winter.
Extreme heat and UV pattern (desert and hot-summer regions)
In hot, dry climates, oxidation runs faster because UV intensity is higher and the binder stays soft longer each day. The dominant damage is surface raveling and block cracking rather than freeze-thaw potholing: the binder oxidizes, loses flexibility, and the surface sheds aggregate under traffic. Cracks tend to be wider and more open with no freeze to pry them, and with no winter moisture to accelerate sub-base failure, the failure mode is surface loss.
Humid and coastal pattern
In humid regions, moisture is present year-round rather than concentrated in a freeze season. The dominant damage is sub-base softening and edge failure. Oxidation still grays the surface, but the more urgent sign is standing water that doesn't drain, because saturated sub-base loses load capacity without ever freezing.
Why this matters for your repair decision
The same visual sign can mean different things in different climates. A hairline crack in a freeze-thaw zone is a water-entry risk that widens every winter; the same crack in a desert zone is mostly a cosmetic and raveling risk. A pothole in a humid zone may signal sub-base saturation rather than freeze damage.
Key Takeaway Identify your climate pattern first, then read the signs. Freeze-thaw zones prioritize crack sealing before winter. Hot-UV zones prioritize sealcoating on a shorter cycle. Humid zones prioritize drainage correction before any surface treatment.
Asphalt Driveway Lifespan: When to Repair vs. Replace
A well-maintained asphalt driveway typically lasts decades, while a neglected one can fail in a fraction of that time. The deciding factor is rarely the original paving job; it's whether oxidation was interrupted before it reached the sub-base.
What You See | Likely Condition | Recommended Action |
Gray surface, no cracks | Early oxidation | Sealcoat now |
Hairline and longitudinal cracks | Surface damage | Crack seal, then sealcoat |
Isolated potholes, firm edges | Localized damage | Patch and monitor |
Alligator cracking over a wide area | Structural failure | Evaluate for resurfacing or replacement |
Depressions that hold water | Sub-base failure | Full-depth repair or replacement |
Key Takeaway Early intervention is almost always the cheaper path. Sealcoating and crack sealing cost a fraction of resurfacing, and they're only effective while the pavement is still structurally sound. Once alligator cracking spreads, you've lost the window.
Frequently Asked Questions
What are the primary signs that asphalt is oxidizing?
The clearest early sign is surface discoloration: black asphalt fades to gray as UV radiation breaks down the oil-based binders. You'll also notice brittleness at the edges, hairline cracks appearing in patterns, and a rougher texture as the aggregate becomes exposed. These changes happen gradually, so comparing your pavement to a freshly paved surface nearby helps you spot the difference. Once graying is visible, the binder has already lost flexibility, which means moisture penetration and further cracking are close behind.
Can asphalt oxidation be reversed with sealcoating?
Oxidation itself cannot be reversed, but asphalt sealcoating benefits include slowing it down significantly. Sealcoat fills surface voids, blocks UV radiation, and restores the dark black finish. It won't fix structural cracks or sub-base failure, which is why crack sealing and patching should happen first. Applied every two to three years, sealcoating extends pavement lifespan and delays the expensive replacement cycle. Think of it as protection, not a cure.
What is the difference between surface oxidation and deep structural damage?
Surface oxidation affects only the top layer: graying, minor raveling, and hairline cracks. Structural damage reaches the sub-base, showing up as alligator cracking, potholes, sinking, or block cracking wider than a quarter inch. A simple test is to look at crack depth and whether edges are crumbling or depressed. If the pavement moves underfoot or water pools in low spots, the base has failed and patching alone won't hold. A professional assessment is the fastest way to tell them apart.
How can you tell if your asphalt needs repair or full replacement?
Repair makes sense when damage covers less than 20 to 25 percent of the surface and the sub-base is intact. Look for isolated cracks, small potholes, or surface raveling. Replacement is the better call when alligator cracking spans large areas, the pavement sinks or heaves, or repairs keep failing in the same spots. Asphalt driveway lifespan typically runs 15 to 20 years with proper maintenance, so age combined with widespread damage usually points to replacement.
GET A FREE ESTIMATE
Comments